What Is CasaOS and Should You Use It for Your Home Server?
Not everyone wants to configure Docker Compose files by hand or wrestle with a command-line-only NAS setup. CasaOS offers a much friendlier entry point into home server ownership, wrapping Docker’s power behind a polished, app-store-style interface that feels closer to a phone’s home screen than a traditional Linux server.
What Is CasaOS?
CasaOS is a free, open-source home server operating system built specifically for personal cloud and self-hosting use. It runs on top of Linux and uses Docker under the hood to manage applications, but hides nearly all of that complexity behind a clean web dashboard where installing a new app is closer to tapping an icon than editing configuration files.
Why CasaOS Appeals to Beginners
- App Store interface – install popular self-hosted apps (Jellyfin, Nextcloud, Pi-hole, and dozens more) with a few clicks, no manual Docker Compose writing required
- File management built in – a Finder/Explorer-style file browser lets you manage storage directly through the web dashboard
- Widget-based dashboard – customizable widgets show system resources, storage usage, and quick app access at a glance
- Low learning curve – far more approachable for someone coming from Windows or macOS than a typical headless Linux server setup
Installing CasaOS
CasaOS installs on top of an existing Debian-based Linux system (or Raspberry Pi OS) with a single command:
curl -fsSL https://get.casaos.io | sudo bashAfter installation completes, access the web dashboard using the IP address shown at the end of the install script, typically on port 80.
Setting Up Storage
CasaOS makes it straightforward to add external drives or existing storage as usable space directly from the dashboard’s Storage section, formatting and mounting drives without needing to touch the command line — a meaningful difference from more technical NAS platforms.
Installing Apps from the App Store
- Open the App Store from the CasaOS dashboard.
- Browse or search for the application you want (Jellyfin, qBittorrent, Nextcloud, Pi-hole, and many others are available).
- Click Install and configure any basic settings shown (ports, storage paths).
- CasaOS pulls the appropriate Docker image and handles the container configuration automatically in the background.
How CasaOS Compares to TrueNAS Scale
Both platforms use containers under the hood, but they target different audiences. TrueNAS Scale is built around ZFS and enterprise-grade storage features — snapshots, RAID-Z, data integrity checksums — aimed at users who prioritize storage reliability above all else. CasaOS instead prioritizes ease of use and a friendly app ecosystem, without ZFS’s more advanced (and more resource-demanding) storage protections. For a beginner’s first home server focused on running apps easily, CasaOS is often the gentler starting point; for serious long-term data storage with enterprise-grade integrity guarantees, TrueNAS Scale remains the stronger choice.
Limitations to Keep in Mind
- Less granular control – the simplified interface trades away some of the fine-grained configuration options power users expect from raw Docker or Kubernetes setups
- Smaller community than TrueNAS or Proxmox – fewer third-party guides and troubleshooting resources exist compared to more established platforms
- Best suited to lighter workloads – CasaOS shines running media servers and personal cloud apps rather than heavier virtualization or clustering scenarios
Who Should Use CasaOS
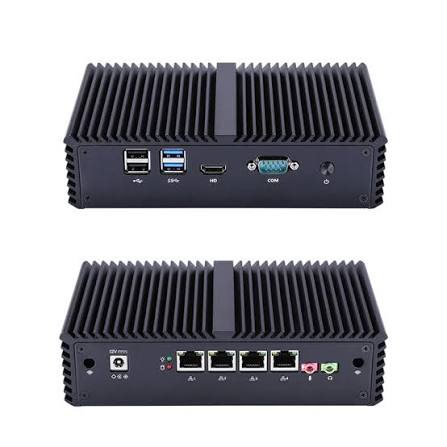
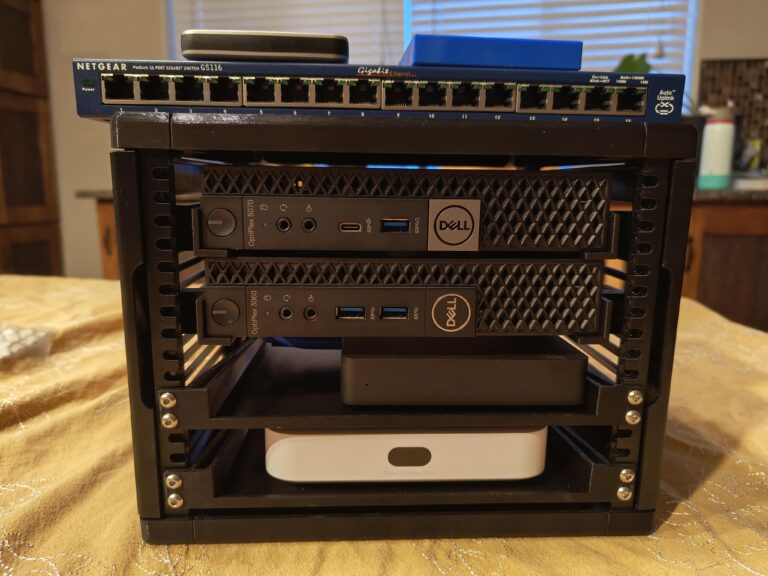
CasaOS is a great fit for anyone repurposing an old PC, mini PC, or Raspberry Pi into a first home server without wanting to learn Docker Compose syntax or Linux command-line administration upfront. Power users who want granular control over networking, storage pools, or virtualization will likely outgrow it and move toward Proxmox or TrueNAS Scale over time.
Final Thoughts
CasaOS lowers the barrier to entry for home server ownership significantly, making self-hosting accessible to people who’d otherwise be intimidated by Docker Compose files and command-line NAS administration. It’s an excellent starting point for beginners, even if more advanced homelab users will likely eventually graduate to more powerful, flexible platforms as their needs grow.