How to Set Up a Reverse SSH Tunnel for Remote Access
Not every network lets you configure port forwarding — university dorms, some corporate networks, and many ISPs using CGNAT make traditional inbound access impossible no matter what you configure on your own router. A reverse SSH tunnel works around this entirely, letting your home server initiate an outbound connection to a machine you control elsewhere, then using that same connection to let you reach back in.
What Is a Reverse SSH Tunnel?
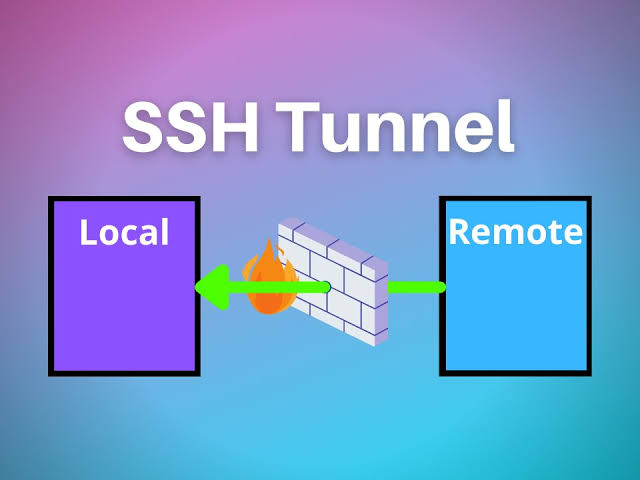
A normal SSH connection goes from your laptop to a server, letting you access that server. A reverse tunnel flips the direction: your home server connects outbound to a remote machine (one with a public IP you control, such as a cheap VPS), and that outbound connection is then used to forward traffic back to your home server — all without ever needing an inbound port opened on your home network.
Why This Matters Behind CGNAT
Many ISPs now use Carrier-Grade NAT (CGNAT), meaning your home router doesn’t actually have a unique public IP address at all — it shares one with many other customers, making traditional port forwarding completely impossible no matter how your router is configured. A reverse SSH tunnel sidesteps this limitation entirely, since the connection is always initiated outbound from your home network, which CGNAT doesn’t block.
What You’ll Need
- A small, cheap VPS with a genuine public IP address (many providers offer options for just a few dollars a month)
- SSH access configured between your home server and the VPS
Setting Up SSH Key Authentication
Before setting up the tunnel, ensure your home server can authenticate to the VPS without a password prompt, since the tunnel needs to reconnect automatically:
ssh-keygen -t ed25519
ssh-copy-id user@your-vps-ip
Creating the Reverse Tunnel
From your home server, establish a reverse tunnel forwarding a port on the VPS back to a service on your home network — for example, forwarding VPS port 2222 back to your home server’s SSH port:
ssh -R 2222:localhost:22 user@your-vps-ipOnce connected, anyone SSHing into the VPS on port 2222 gets forwarded through the tunnel directly to your home server’s SSH service, even though your home network never opened any inbound port at all.
Keeping the Tunnel Persistent
A manually run SSH command disconnects the moment your terminal session ends. For a tunnel that survives reboots and reconnects automatically if dropped, use autossh instead:
sudo apt install autossh -y
autossh -M 0 -R 2222:localhost:22 user@your-vps-ip -N
The -M 0 flag disables autossh’s built-in monitoring port (relying instead on SSH’s own keepalive), and -N tells SSH not to execute a remote command, just maintain the tunnel itself.
Running the Tunnel as a systemd Service
For genuine persistence across reboots, wrap the autossh command in a systemd service (as covered in the earlier systemd guide) so it starts automatically and restarts if the connection ever drops unexpectedly.
Configuring the VPS to Accept the Tunnel
On the VPS side, ensure GatewayPorts is enabled in /etc/ssh/sshd_config if you want the forwarded port reachable from anywhere, not just from the VPS itself:
GatewayPorts yesForwarding Web Services, Not Just SSH
The same technique works for any service, not just SSH itself — forwarding a web dashboard, for example, by adjusting the local port in the tunnel command to match whatever service you want reachable through the VPS.
Security Considerations
Since this setup routes traffic through a VPS you don’t fully control the physical security of, treat the tunnel like any other externally reachable access point: use key-based authentication only, apply the same SSH hardening practices covered elsewhere, and consider restricting which services are actually forwarded through it rather than exposing more than necessary.
Reverse SSH Tunnels vs Tailscale
For most homelab users today, Tailscale (covered in an earlier guide) accomplishes similar goals with considerably less manual configuration and no need to rent a separate VPS. Reverse SSH tunnels remain valuable to understand as a fundamental, dependency-free technique — useful in environments where installing additional software isn’t an option, or simply for understanding what’s happening under the hood of more polished tools.
Final Thoughts
A reverse SSH tunnel provides a genuinely dependency-free way to reach a home server stuck behind CGNAT or restrictive network policies, using nothing more than standard SSH and a small VPS. While newer tools like Tailscale offer a smoother experience for most homelab use cases, understanding reverse tunnels remains a valuable, fundamental networking skill for any serious homelab admin.